Getting Started
Written By Sam from Jinnify
Last updated 19 days ago
Getting Started
Summary: What Jinnify is, who it is for, how a new account is set up, and how to reach a first useful result (connect a store, open one listing, run Optimize or create a draft).
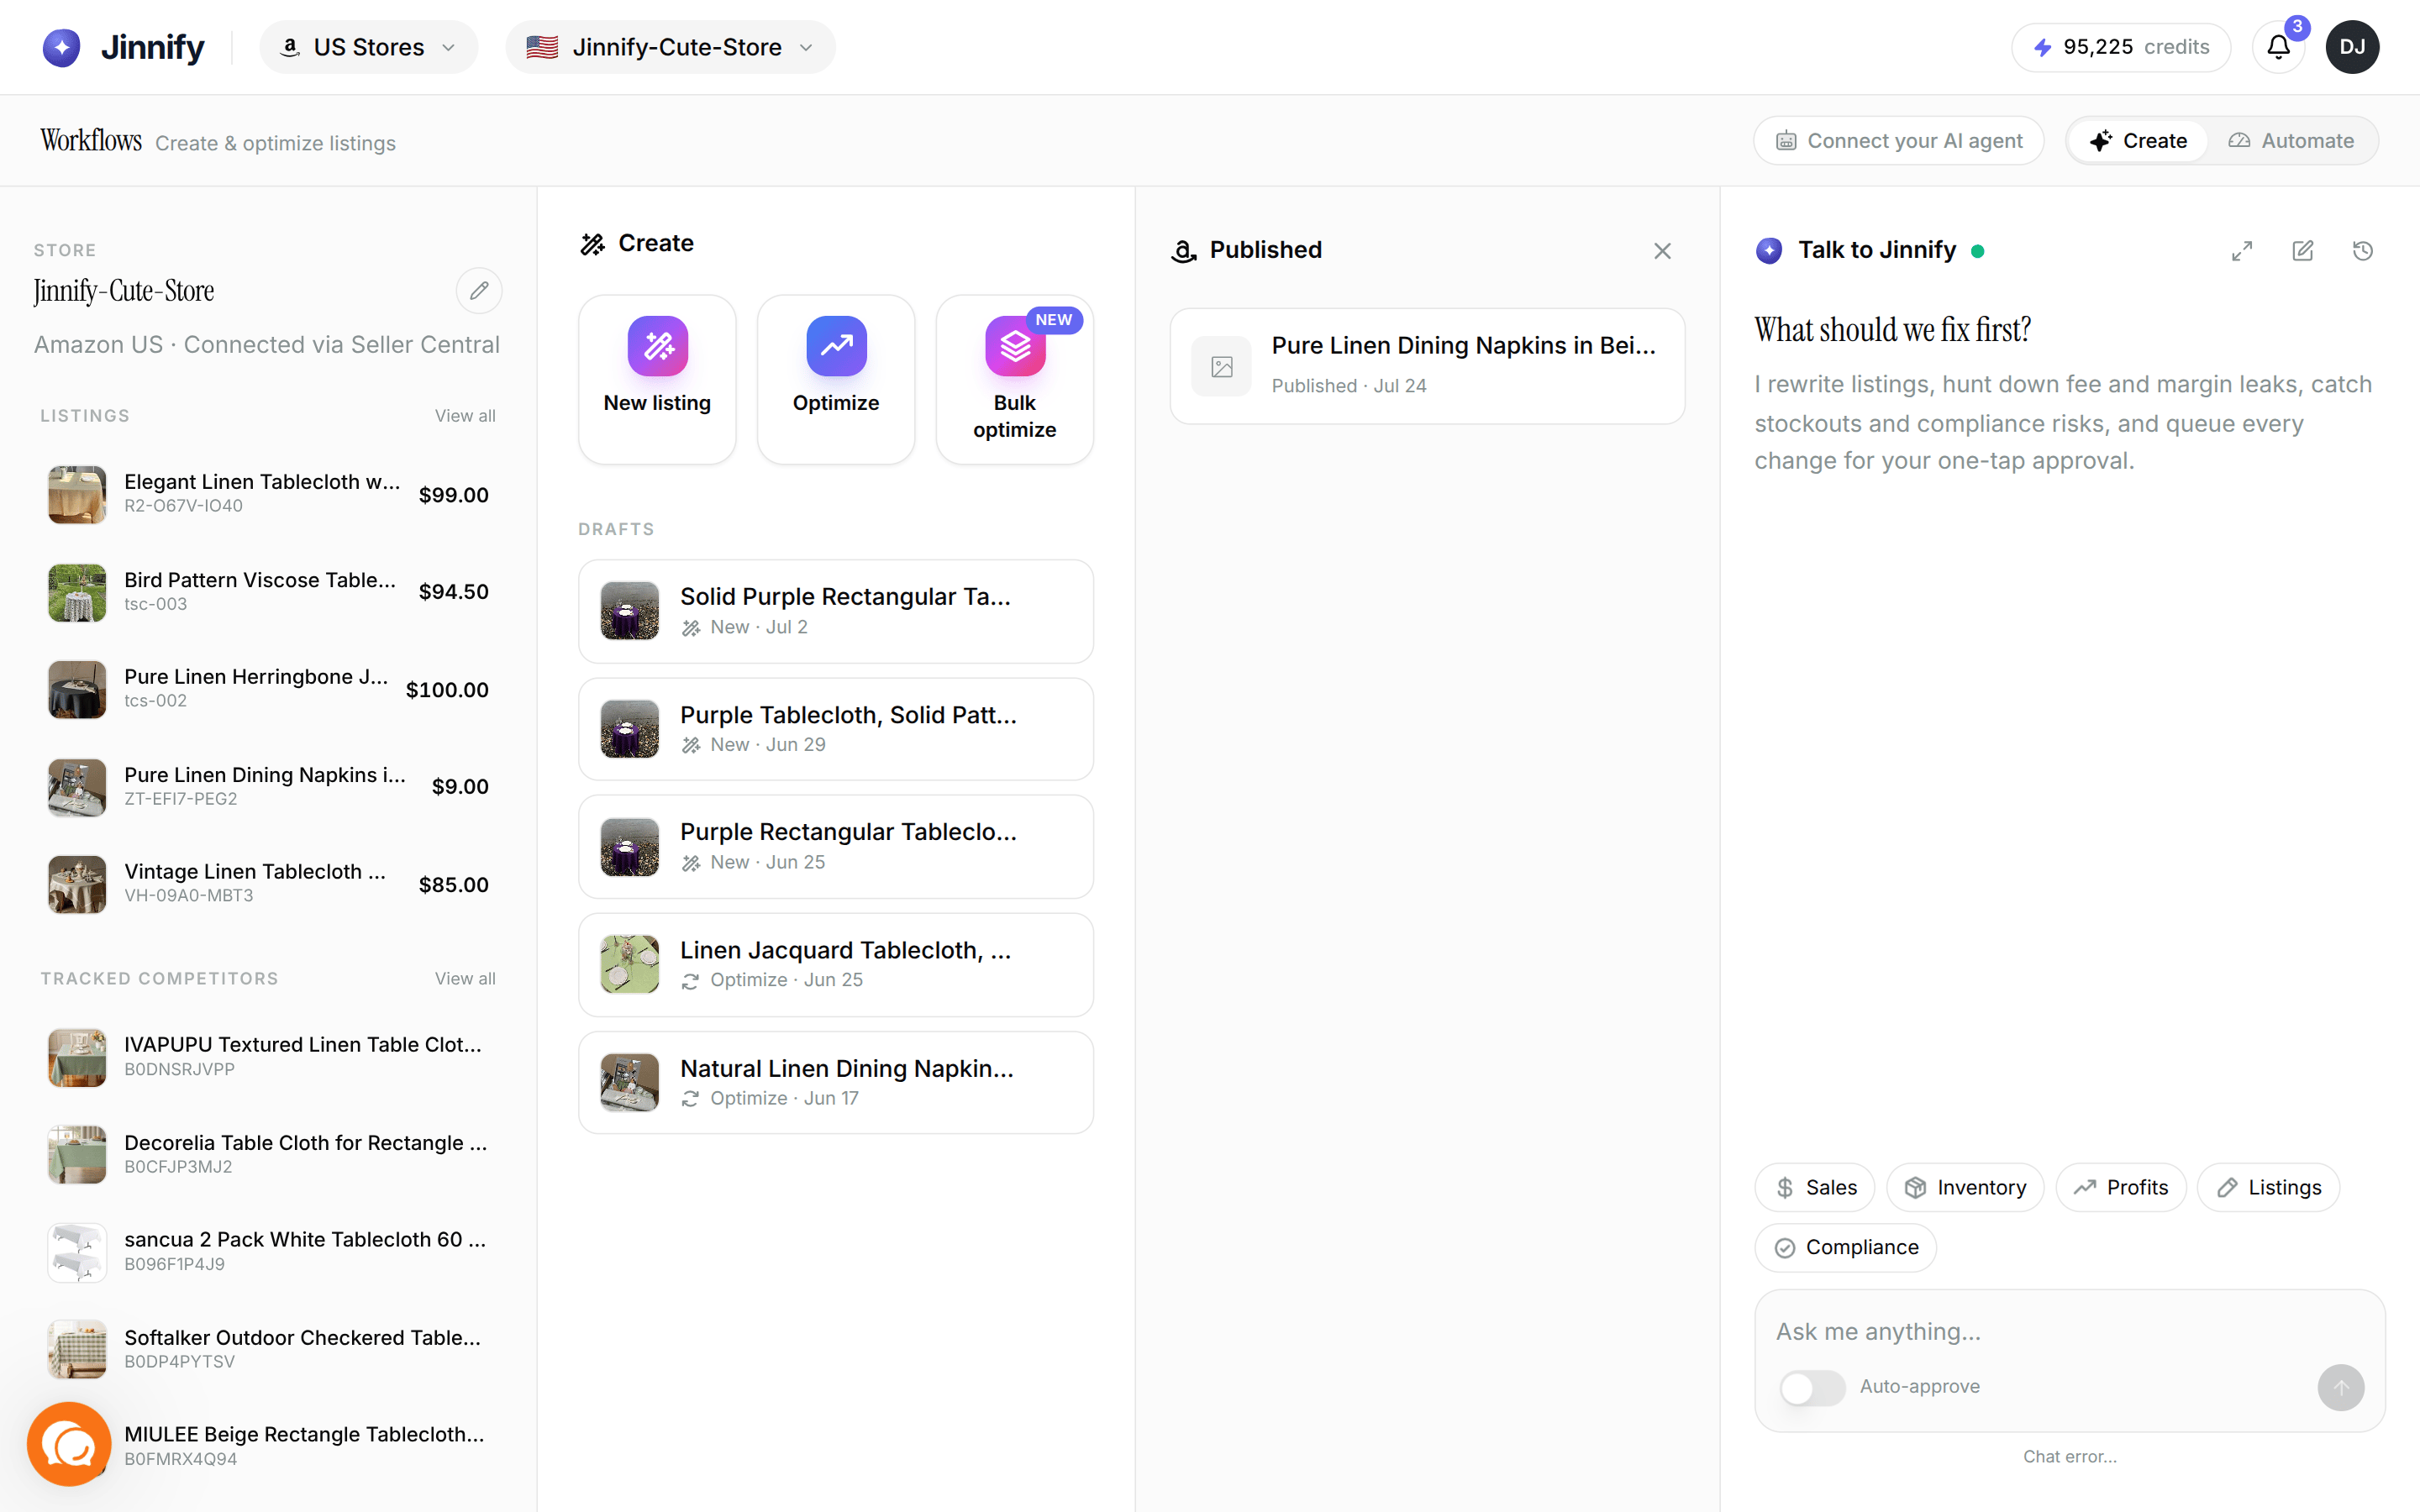
What Jinnify is
Jinnify is an AI-powered workspace for Amazon sellers. It helps you:
Create and improve listings (new listing, optimize one listing, bulk optimize many)
Review your catalog (search ASINs and SKUs, fix titles that break Amazon’s 75-character rule)
Automate review work (recommendations land in Automate → Inbox for approve, dismiss, or snooze)
Chat with an in-app agent about the store you have selected
Optionally bring your own agent with API tokens (account menu → Your AI agent)
Jinnify prepares and submits listing changes you approve. Amazon still validates catalog data, permissions, and what finally shows on the marketplace.
Who it is for
A good fit if you:
Manage Amazon listings and catalog quality yourself or for clients
Want AI drafts you can review before anything hits Amazon
Work across one or more marketplaces and want them grouped in one app
A weaker fit if you only need a standalone keyword tool, never review AI output before publish, or expect every Amazon field to update instantly after every submission.
What you get when you sign up
Jinnify creates:
A Default Workspace (a folder for your stores)
A demo store named Jinnify Demo Catalog, labeled Sandbox, with sample data so you can explore without Amazon access
You can also import a public Amazon storefront into the sandbox during onboarding (confirm the store first). That renames the sandbox off the demo label and seeds products for exploration. Live metrics, bulk catalog actions, and publishing to Amazon still need a real Seller Central connection.
Trial credits (shown in Settings → Subscription & Usage):
1,000 free Jinnify credits to start
+5,000 credits when you connect a real Amazon store
Credits are spent when you put Jinnify’s AI to work (for example Optimize, New listing, Bulk optimize). The balance in the app is the source of truth.
The two home surfaces
On home you switch between:
Use the Create / Automate control on the home stripe to switch anytime. That choice also becomes your default for the next visit.
Default home (after sign-in)
Account menu → Settings.
Under Preferences, open Default home.
Choose Create or Automate.
App copy: Where to land after sign-in. Change this anytime; the Create / Automate control on your home screens uses the same preference.
Notes:
With a real Amazon store connected, sign-in (and opening
/) sends you to that default.With sandbox only (or no production store), you always land on Create. Automate still needs a real store.
The preference is saved in this browser/device. It does not create a separate login or bill.
The top bar also has workspace and store selectors (the active store is what chat, listings, and inbox use). Settings is under the account menu.
Quick start: signup to first useful result
Create your Jinnify account at app.jinnify.ai.
Optionally complete onboarding import so the sandbox reflects a real storefront.
Connect Amazon when you are ready:
Open Your stores (top bar → workspace menu → Manage workspaces & connections), or Connect store from the store menu.
Choose Connect store → Amazon, read the short explainer, then Continue to Amazon.
Sign in to the correct Seller Central account and approve access.
Return to Jinnify and confirm the store appears under Your stores.
Wait until status is no longer Awaiting first sync (relative sync times like Synced just now appear after data lands).
Open Create and run Optimize on one ASIN you know well, or open Your listings (
/listings), search by title, SKU, or ASIN, and start from there.Review the quality score and proposed fields. Publish only when you are comfortable with the live result (a real store is required to publish to Amazon).
For agent or bulk proposals, open Automate → Inbox, select the right store in the top bar, then Approve, Dismiss, or Snooze 24h.
Your first 15 minutes
Goal: prove the connection and review one real listing.
Confirm the correct seller and marketplace are selected
Find one SKU or ASIN you know well on Your listings or via Optimize
Run Optimize once; leave Bulk optimize and multi-title cleanup until you trust the output
If you are out of credits, connect a store (+5,000) or open Settings → Subscription & Usage for plans and packs
What needs a connected store
Connecting is encouraged everywhere; workflows are not locked behind connection until publish or live data is required.
How listing changes reach Amazon
There are two common paths:
Workflow publish (Create → New listing or Optimize → ready to publish)
Jinnify submits when you publish and the publish gate is satisfied (real store, required fields).Inbox approve (chat agent, bulk optimize in inbox mode, BYOA proposals, title fixes from Your listings)
A recommendation is created first. Nothing goes to Amazon until someone (or an Auto-approve token) Approves it in Automate → Inbox.
Amazon may delay, normalize, or partially accept fields. Seller Central remains the source of truth for what shoppers see.
Glossary
What success looks like
Correct seller and marketplace are connected and past first sync
You can open at least one known ASIN or SKU
You completed one Optimize or New listing draft without connection errors
You know where Inbox is if something is waiting for approval