Bring Your Own Agent
Written By Sam from Jinnify
Last updated 23 days ago
Bring Your Own Agent
Summary: Connect an external AI agent to Jinnify with API tokens and skills from the Jinnify API so it can read your store data and propose (or approve) changes from outside the app.
What “bring your own agent” means
You run an AI agent outside Jinnify (Claude Code, Claude Desktop, Grok, Codex, opencode, Cursor, or any runtime that supports the open agent-skill format), give it a Personal Access Token (jnfy_pat_…), and ask it to learn Jinnify’s skills from the API. Your agent fetches and installs them; you do not need to clone a repo by hand unless you prefer the shell path.
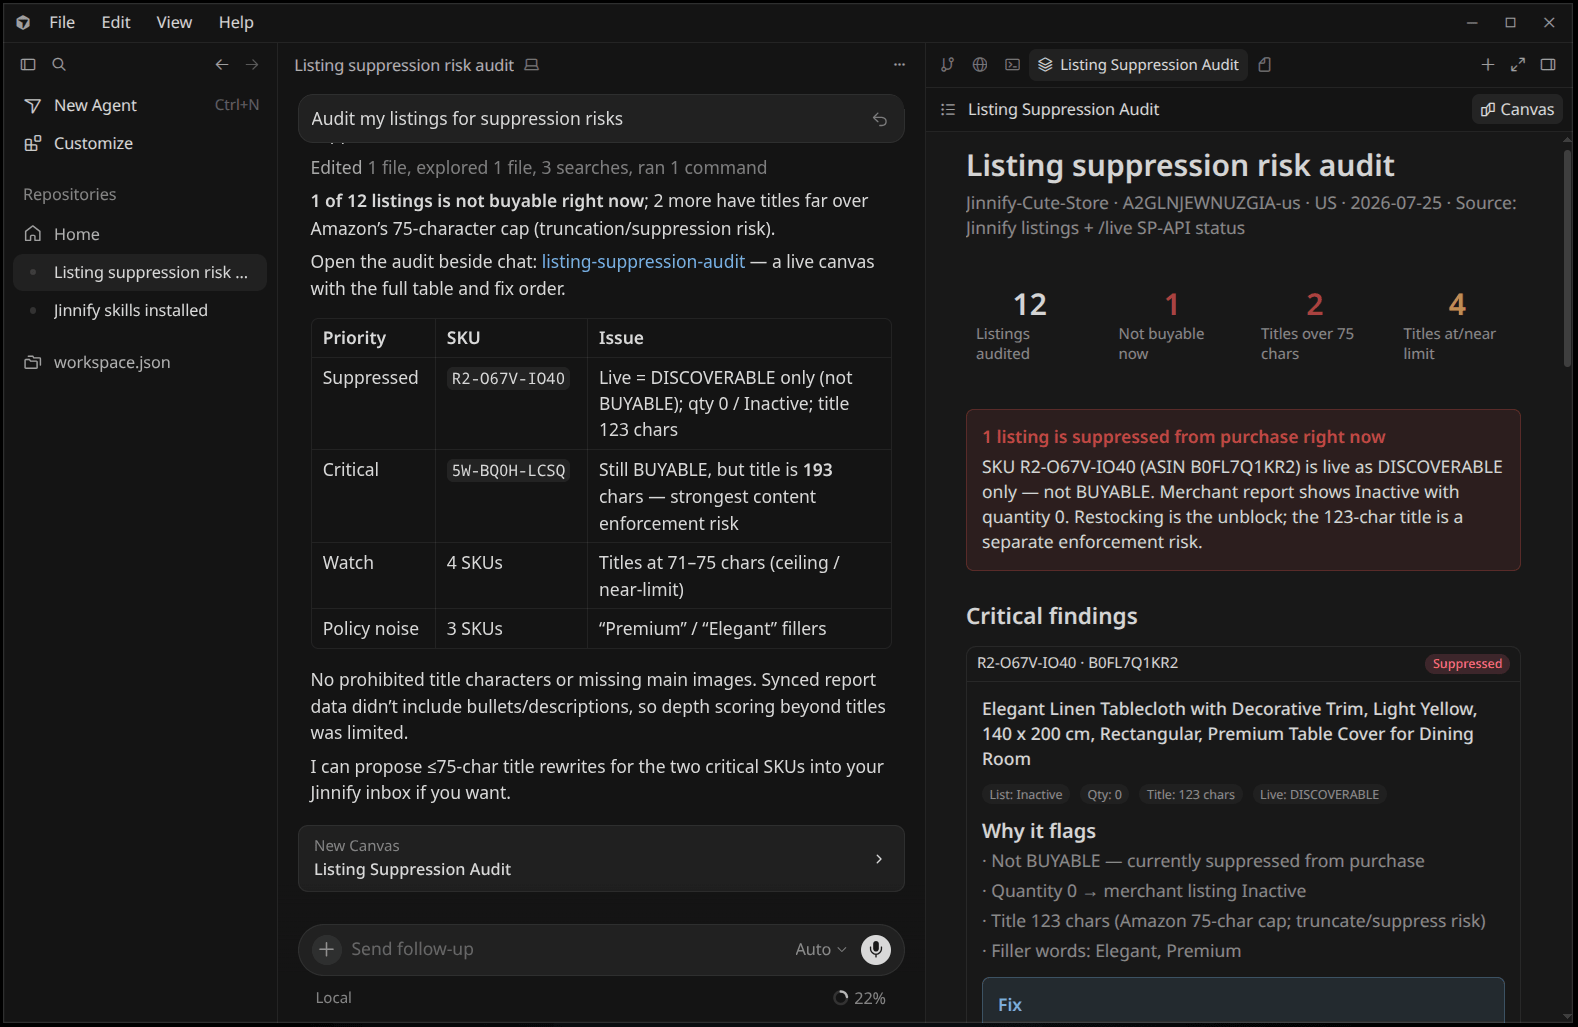
That is different from the in-app chat panel. In-app chat needs no token and stays in the browser. BYOA is for your own tools, prompts, and runtimes.
Today you can
Create and revoke API Tokens
Scope a token to specific stores (or all stores you can access)
Choose Recommend or Auto-approve access
Install skills by asking your agent to learn them from the Jinnify skills API (or sync via shell; see below)
Review proposals in Automate → Inbox
Today you cannot
Build or name a custom in-app “My Agents” roster from Settings
Share a token with another user from the UI
Edit a token after create (revoke and create a new one)
Where to find it
Recommended: the dedicated setup page.
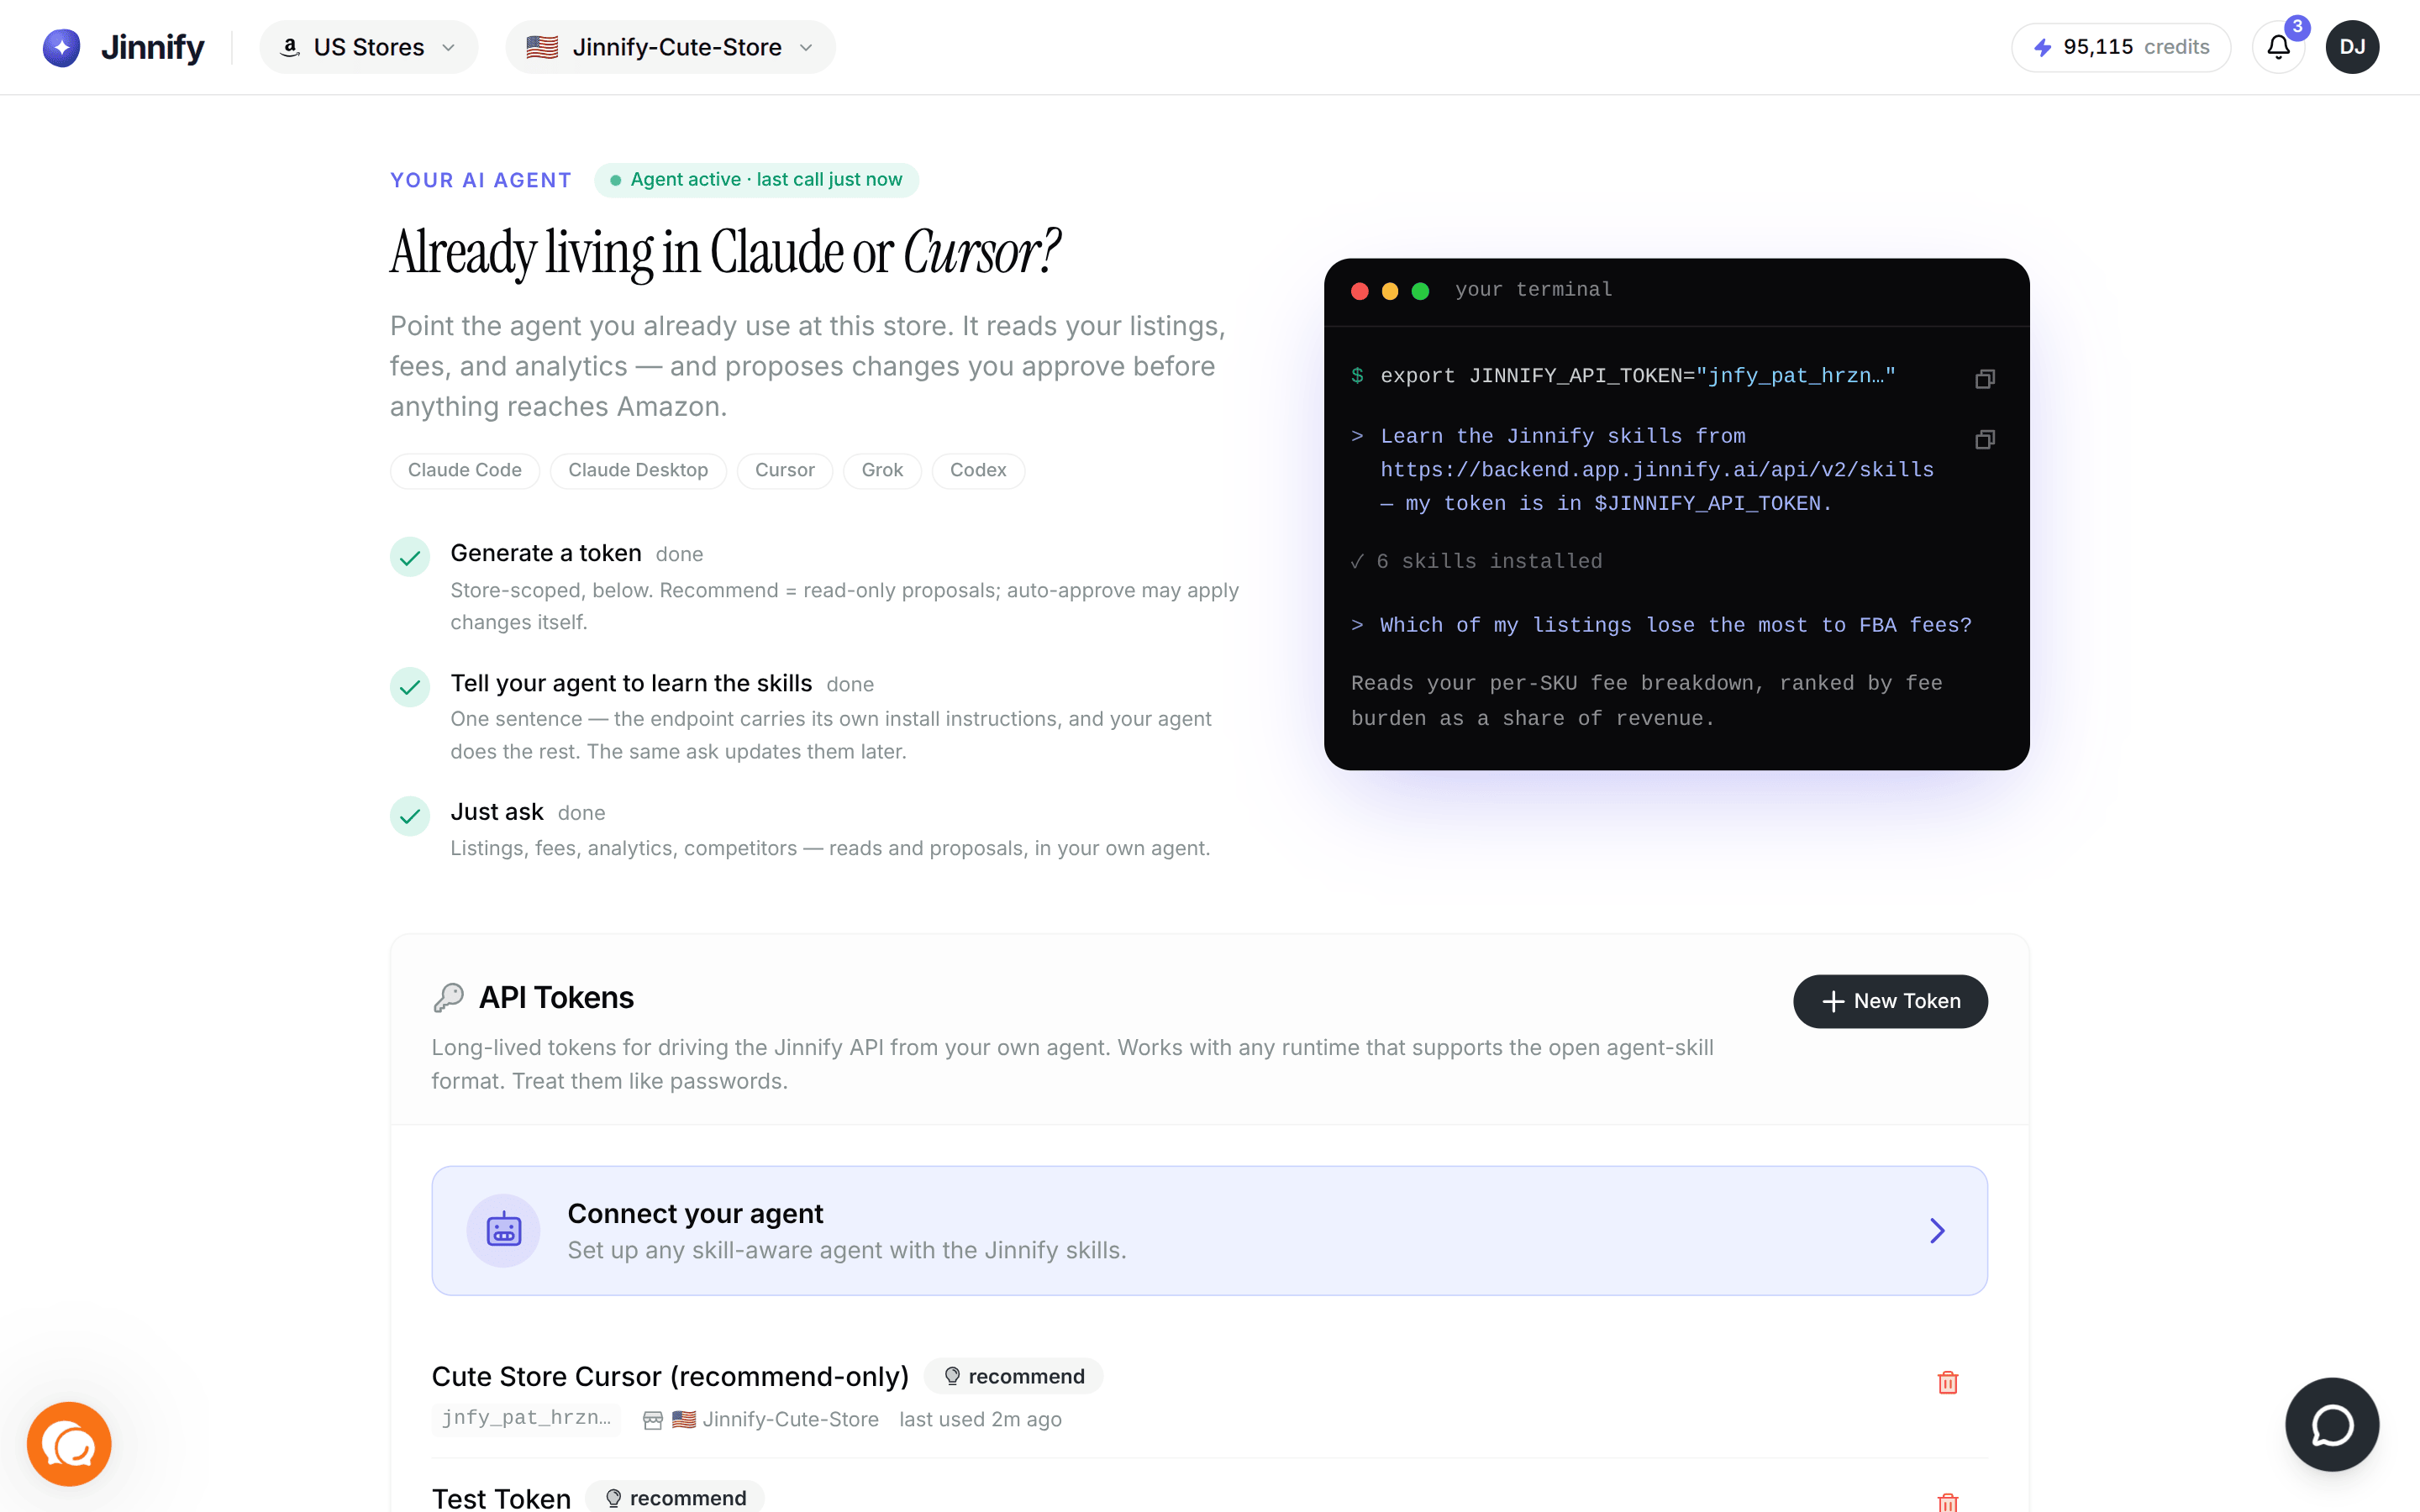
Open your account menu in the top bar.
Click Your AI agent (opens
/agent).Follow the checklist: generate a token, export it, tell your agent to learn the skills, then ask a question.
Your AI agent requires a real connected Amazon store (sandbox-only accounts are redirected to connect first). Tokens are store-scoped; the page is most useful once you have live data.
Also available in Settings:
Account menu → Settings (
/profile).Scroll to Developer access → API Tokens.
Card description in the app: Long-lived tokens for driving the Jinnify API from your own agent. Works with any runtime that supports the open agent-skill format. Treat them like passwords. Settings includes a link to Open the full setup page → for the same flow as /agent.
If you already have tokens, use Connect your agent on the API Tokens card for setup steps without creating a new token first.
Make sure the right store is selected when you review Inbox results.
Create an API token
On API Tokens, click New Token.
In Generate API token:
Label — a name you will recognize (placeholder example:
my laptop agent). Required.Allowed stores — pick which Amazon connections this token may use. Leave empty to allow all stores you have access to. Demo / Sandbox stores are not listed.
Access — Recommend or Auto-approve (see below).
Click Generate token.
In Token created, click Copy. The full token is shown exactly once. Jinnify only stores a hash afterward.
Click Done, then finish Connect your agent if you have not already.
Empty state: No tokens yet. Generate one to start using the Jinnify API from outside the app.
If you have no real stores yet: No stores connected. The token will work against all stores you have access to. Connect Amazon when you are ready so the agent has live data to work with.
Recommend vs Auto-approve
Choose this when you generate the token. You cannot change it later without creating a new token.
Important details:
Creating a proposal does not publish to Amazon by itself — it opens an Inbox recommendation.
Auto-approve on a token means “this token is allowed to approve,” not “every propose is silently published with no approve step in the API.”
The home chat panel has its own Auto-approve control. That only affects messages in that panel — not your API token mode.
App copy for Recommend: Your agent recommends changes for you to review. You approve each one before it reaches Amazon.
App copy for Auto-approve: Your agent approves and applies its own recommendations automatically, like price and listing updates, without waiting for you.
Connect your agent
After you have a token (from New Token, Connect your agent, or the /agent page):
Copy your token when it is created. If you closed that dialog, revoke and create a new one.
Export your token in the shell or environment your agent uses:
export JINNIFY_API_TOKEN="jnfy_pat_…" Tell your agent to learn the skills. Paste or say something like:
Learn the Jinnify skills from https://backend.app.jinnify.ai/api/v2/skills — my token is in $JINNIFY_API_TOKEN. That endpoint serves the skills with install instructions built in. Your agent fetches and installs them itself. The same ask updates them later. Skills follow the open agent-skill spec.
Ask your agent. Example: Which of my listings lose the most to FBA fees? It can use Jinnify skills for listings, fees, analytics, and recommendations across your connected stores.
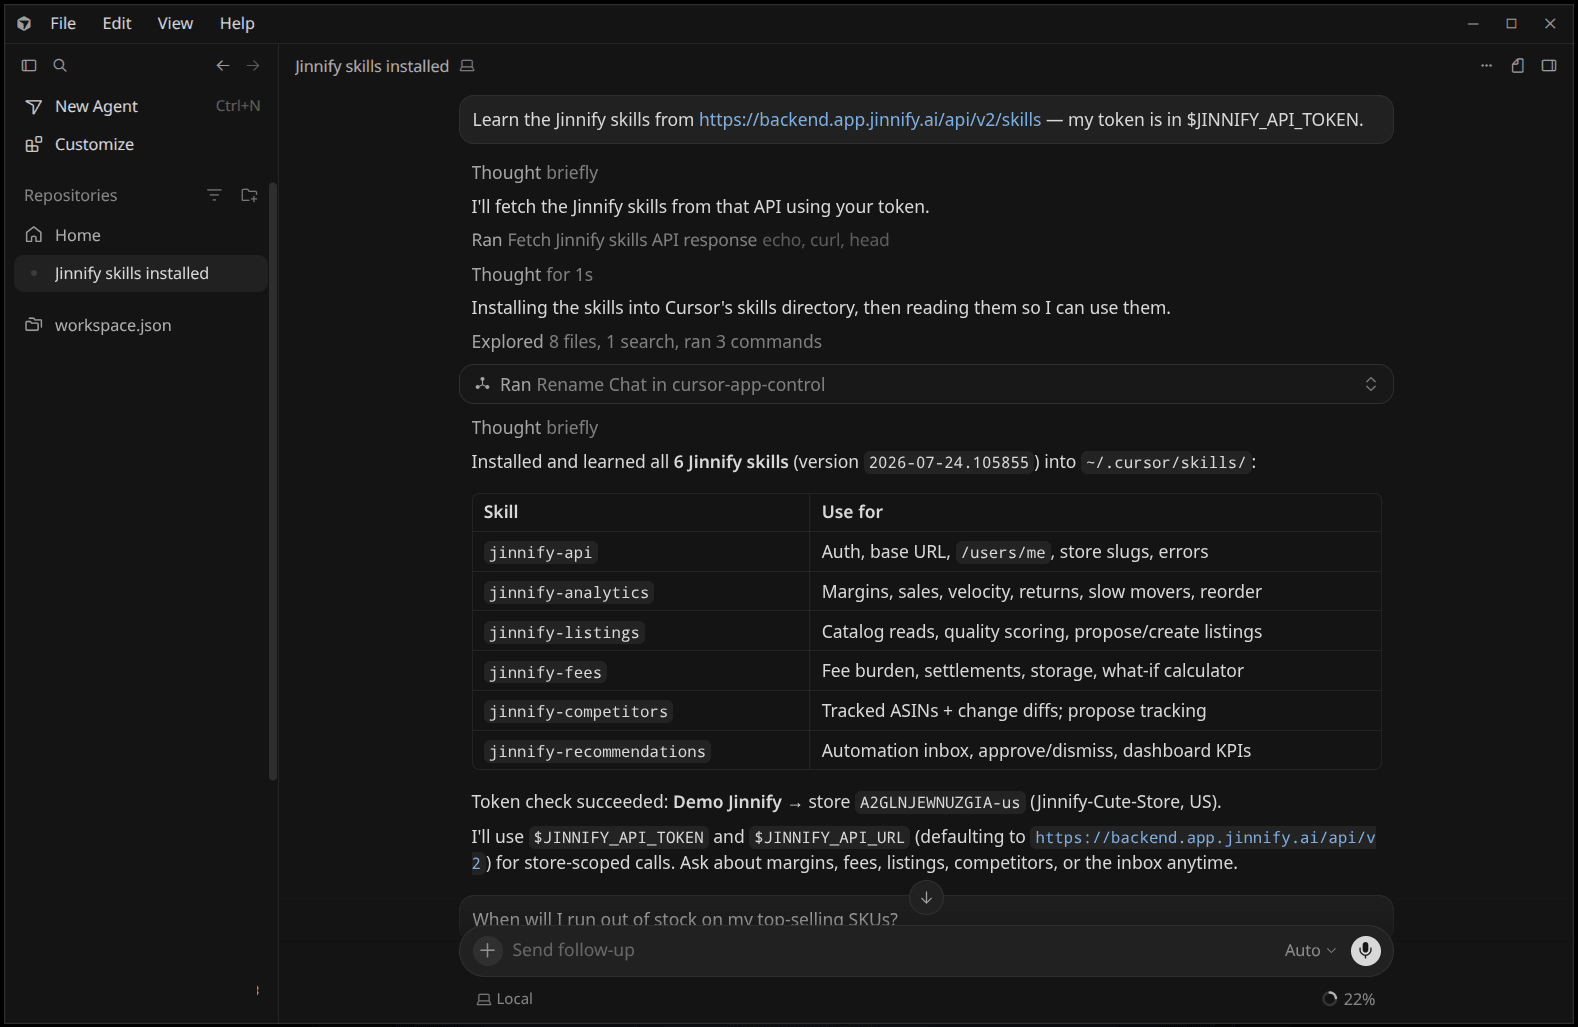
The /agent page shows a live checklist (token created, agent has called the API) and copy buttons for the export and learn commands.
Install into your agent’s skills folder (optional)
Prefer the shell? In Connect your agent (or on /agent after you have a token), expand Install into your agent’s skills folder. Export JINNIFY_API_TOKEN first, then run the command for your runtime. Each command downloads the skill archive from the API:
# Claude Code / Claude Desktop (example) mkdir -p ~/.claude/skills/jinnify && curl -sS -H "Authorization: Bearer $JINNIFY_API_TOKEN" "https://backend.app.jinnify.ai/api/v2/skills/archive" | tar -xz -C ~/.claude/skills/jinnify The in-app dialog also includes paths for Grok, opencode, and Codex (or any skill-aware agent under ~/.agents/skills/jinnify).
Custom API host (optional)
For staging or local backends only:
export JINNIFY_API_URL="https://backend.app.jinnify.ai/api/v2" Use the host your team gives you. Production skills and the default API base use https://backend.app.jinnify.ai/api/v2.
What skills cover
Public skills (load jinnify-api first):
What your agent can do
With skills + a valid token, a typical agent can:
Read listing and catalog data for allowed stores
Pull analytics and fee-related context
Create recommendations (listing patches, new listing proposals, competitor track proposals) that appear in Inbox
With an Auto-approve token: approve those recommendations so they can apply toward Amazon
With a Recommend token, approve is blocked (read-only for Amazon writes).
Paused stores: agents will not run usefully against a paused store. Turn the store back on under Your stores / Manage if needed.
Review work in the Inbox
External agent proposals join the same queue as other automations.
Select the correct store in the top bar.
Open Automate → Inbox.
Review each item.
Approve to apply, Dismiss to skip, or Snooze 24h to hide it for about a day (row menu ⋯ or bulk bar). Snooze does not send anything to Amazon; the item returns to the open Inbox when the snooze ends.
Empty Inbox: All clear — Jinnify has nothing pending for you right now. (Snoozed items are hidden until they come back.)
If no store is selected: choose a store from the header to view your automation inbox.
History lives under Activity. Listing workflows (Optimize, Bulk optimize, title fixes) can also send work to Inbox.
Keep tokens safe
Treat every token like a password.
Copy it when it is shown — you will not see the full value again.
If lost or leaked: Revoke (trash icon), then create a new one. Confirm: Revoke this token? This cannot be undone.
Prefer Recommend for everyday experiments; use Auto-approve only when you intend the agent to apply changes.
Scope Allowed stores when the agent should not touch every connection.
Token rows show a short prefix, store scope (all stores or named stores), access mode, and last used time.
Common tasks
First-time Claude (or other skill-aware agent)
Account menu → Your AI agent (or Settings → Developer access → API Tokens) → New Token → Recommend → Copy → export JINNIFY_API_TOKEN=… → tell the agent to learn skills from https://backend.app.jinnify.ai/api/v2/skills → ask it to inspect a listing → Approve in Inbox.
Let an agent apply without Inbox clicks
Create an Auto-approve token; keep it secret and store-scoped; spot-check Activity and Amazon after large runs.
Rotate a token
Revoke old → generate new → update JINNIFY_API_TOKEN in the agent environment.
Limit to one marketplace store
New token → Allowed stores → select only that connection.